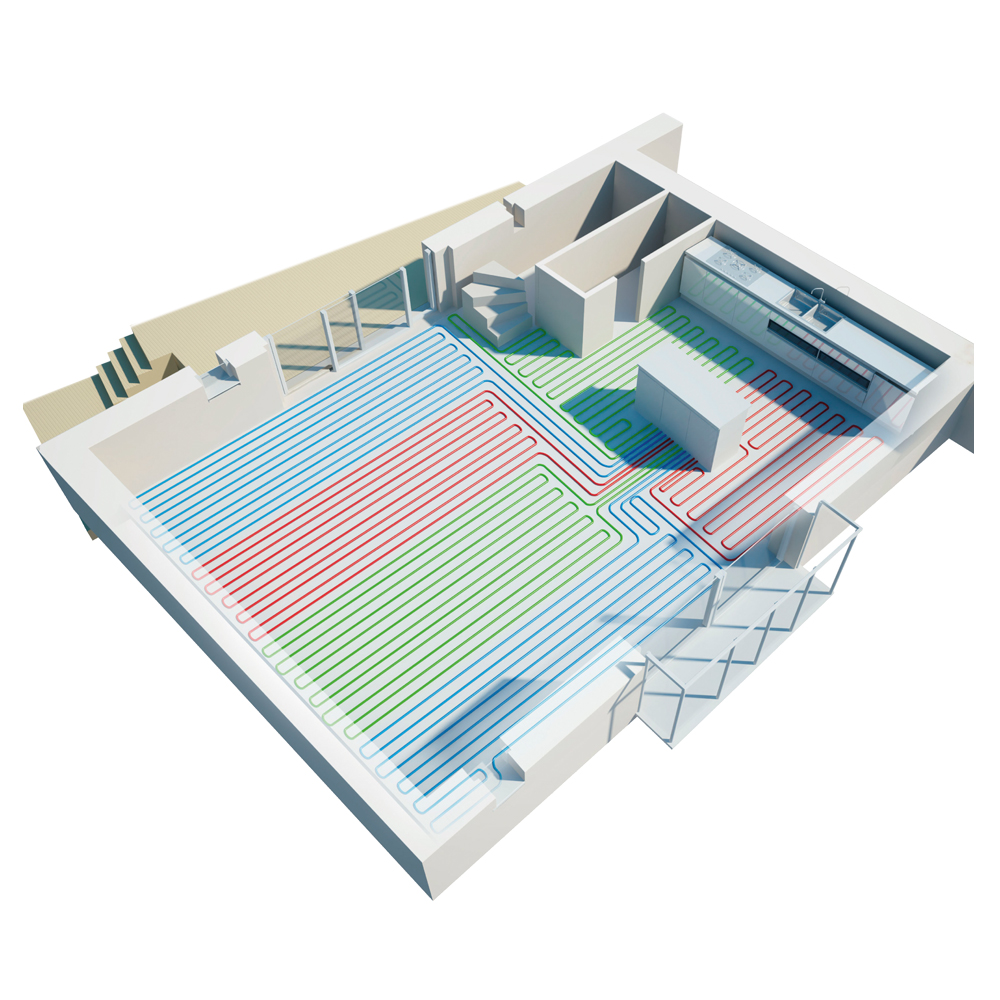


Water-based underfloor heating in bathrooms
You can also lay Flooré underfloor heating in bathrooms. The only requirement for underfloor heating is that the subfloor should be smooth and load-bearing.
Water-based underfloor heating in bathrooms
In wet rooms screed is applied to the underfloor heating before the surface material is laid. Flooré underfloor heating can be used under all types of flooring materials.

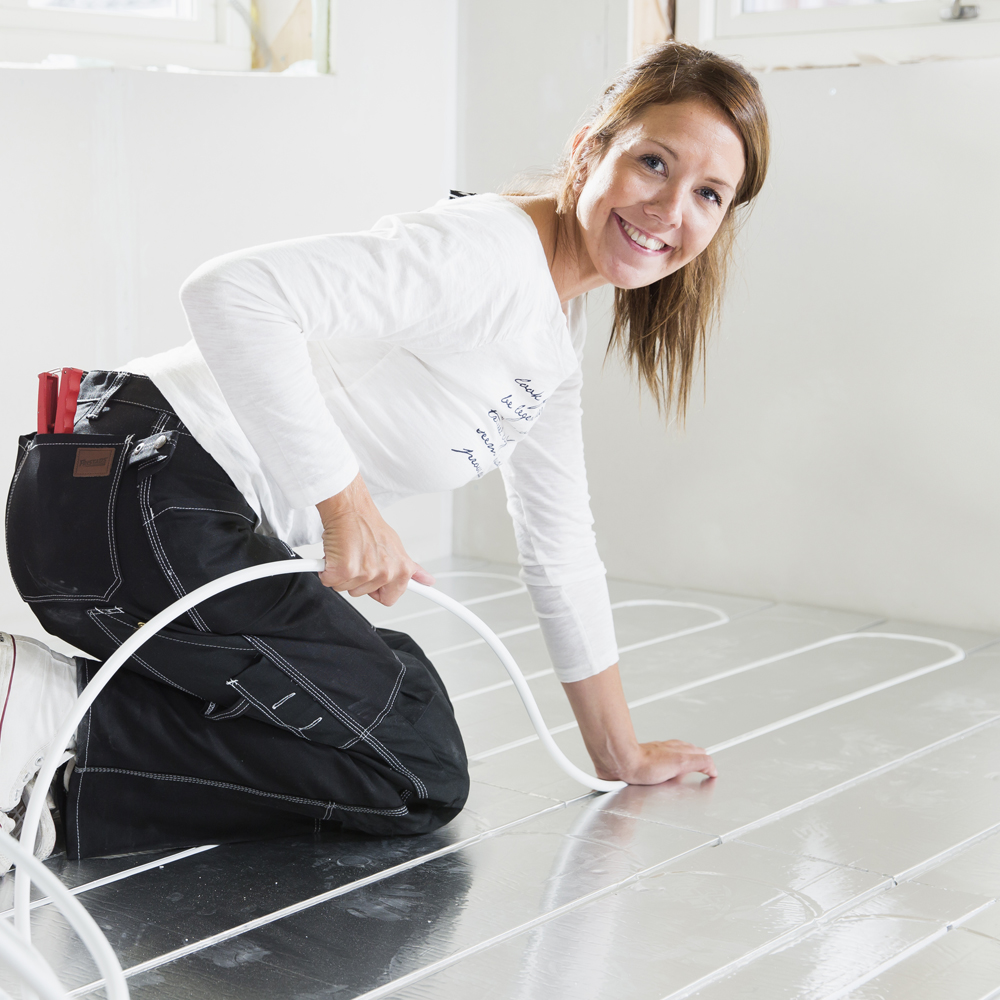
Laying a surface layer
After installing and testing the pressure of the water-based underfloor heating system, it is time to lay the surface layer. Keep the underfloor heating system turned off. This applies mainly when laying tiles because the temperature affects the drying time and long-term properties of the tile adhesive and grout. Please note that these are general recommendations for laying surface layers. If the general recommendations differ from the manufacturer’s, then follow the instructions of the manufacturer.
Make sure that the floor is:
- Dry and level
- Clean and free of any material and other floor residue
- The floor panels should sit tight against the subfloor. If a panel is loose, wobbles or makes any noise against the subfloor, secure it further with screws or similar
Water-based underfloor heating with tiled floors in bathrooms
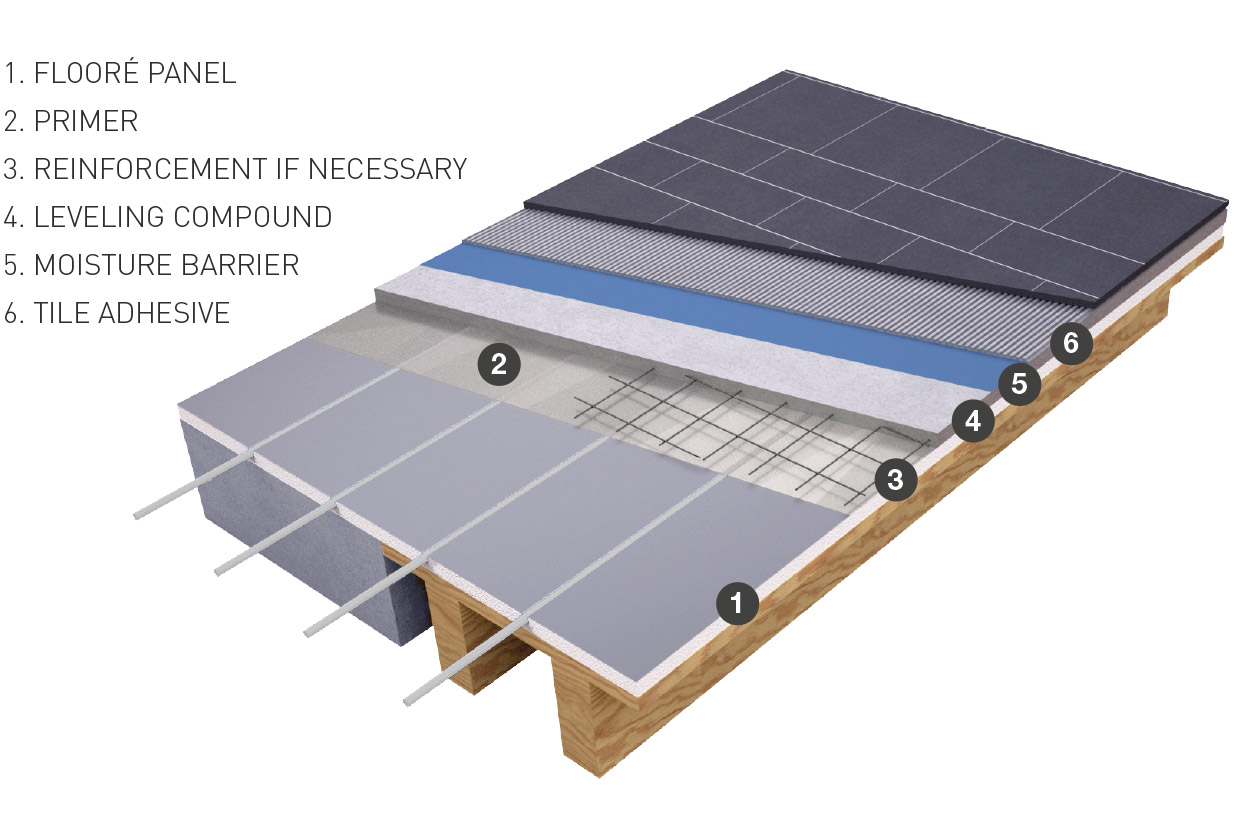
Flooré floor panels should be glued to the subfloor, regardless of the type of room space. A more detailed description is provided below of the installation procedure. For laying tiles in wet room spaces, such as bathrooms, washrooms, and in new boiler rooms, industry rules require a layer of leveling compound (screed) and reinforced mesh on top of the system. The flooring must comply with the BBV Trade Rules of the Swedish Ceramic Tile Council for Wet Areas. You can read more detailed information about rules for membranes, joists, connections, gradients towards the floor drain, etc. on the Swedish Ceraamic Tile Council’s website.
The installation procedure is as follows:
- Check that the joists meet BBV requirements.
- Install the underfloor heating. The underfloor heating must always be glued to the subfloor in wet rooms. If there is a floor drain, there must be at least 150 mm left uncovered, without any underfloor heating panel. Floor screed should be applied so that it forms a hard edge next to the connection with the floor drain.
- Test the underfloor heating – Test the pressure in the pipe.
- Keep the floor area to be screeded free of the walls. You can do this by using edging made from plastic foam or similar. Since all concrete products shrink when they harden, it is important that the floor can move from the wall. Otherwise, there is a risk of problems with cracks, adhesion and the floor panels coming loose. Take care to ensure that the screed suppliers’ conditions for room and surface temperatures are met.
- Clean the underfloor heating with methylated spirits (don’t use other solvents as they may abrade the cellular plastic) and apply undiluted primer. Allow the primer to dry. NB: Check that the primer disperses and forms a continuous film covering the entire area, as not all brands will adhere to aluminum foil. Refer to the table “Primer and leveling compound, wet rooms” when selecting a primer.
- NB: In the case of a wooden subfloor, regardless of the beam spacing (though it should not exceed 600 mm), the bending stiffness must be reinforced, and action taken to prevent moisture diffusion transferring to the ceramic layer. Reinforcement can be achieved using leveling compound with a min. thickness of 12 mm next to the floor drain. Spot-welded steel mesh should be used by way of reinforcement under the leveling compound.
- Lay the reinforced mesh on the underfloor heating system. They join and overlap each other.
- Apply the leveling compound (screed) according to the manufacturer’s instructions. Before screeding commences, the floor temperature should be checked to see that it meets the requirement specified by the manufacturer. If the floor temperature is too low, there is a risk of the screed starting to harden before it shrinks, causing problems with cracks, adhesion and making the floor panels loose. As the subfloor is not absorbent, it is important to avoid adding excess liquid to the leveling compound.
- Apply a membrane system to the screeded/leveled areas as per the supplier’s instructions.
- Use adhesive/primer recommended by the manufacturer/supplier for the membrane system you have selected.
Tile size
The tile adhesive combined with the tiles distributes point loads. However, the tiles should not be less than 15 × 15 cm. For smaller tiles or a mosaic, a load-distributing board or a layer of fiber-reinforced screed should be applied on top of the heating system. Leveling compound can also be used on top of the Flooré flooring to strengthen the subfloor before any tiles are laid.
Tile adhesive
The tile adhesive you choose is influenced, on the one hand, by the stone material which the tiles are made of (e.g. slate and marble may be sensitive) and, on the other, by your experience in laying tiles and how soon you can walk on the floor after laying the tiles. Before you choose a tile adhesive, the following words may appear in connection with the products:
- Pot life – The time the tile adhesive is on the roller (in the bucket), from being mixed until becoming unworkable.
- Wet-edge time – The time you have to lay tiles once the tile adhesive has been spread over the surface.
- Adjustable – The time during which the tile can be readjusted, calculated from when tile adhesive was applied to it.
The size of the adhesive spreader’s teeth depends on the size of the tile. Ask your tile supplier what the appropriate tooth size is. An 8 mm spreader is usually used, but it is the tile’s properties and dimensions that determine the choice. Always use a mixer when tile adhesive or grout needs to be mixed.